On the Workflows page, click Organize to choose the way in which your Workflows are compartmentalized for your company. With this component, you can:
- Create folders and rename them.
- Move Workflows into and out of those folders.
- Delete Workflows in bulk.
The Organize feature is helpful because it makes the Workflows easier to classify and deploy.
To create a new folder:
- Click Organize and the New Folder.
- In the folder name box, type a meaningful name for the folder and click OK.
To rename an existing folder:
- On the Workflows page, select a folder and click Rename.
- Rename the folder as needed and click OK.
Although you can create and use folders, Workflows can both exist inside and outside of them.
To move your Workflows:
- Navigate to the Workflows tab > Organize.
- Select the desired Workflows, and click Move.
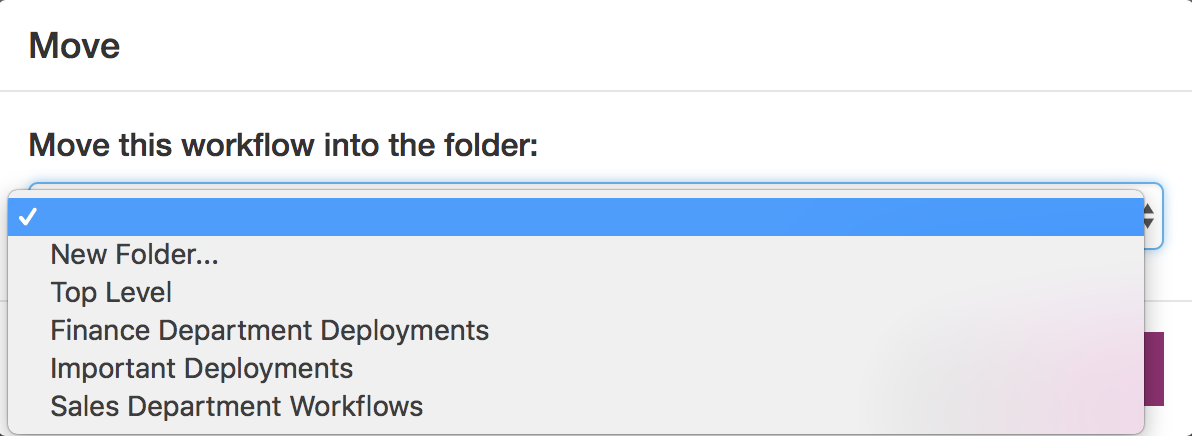
- From the Move list, select the level of folders to move your Workflows into.

NOTE: The Top Level option keeps the selected Workflows above and outside of the folders you have created.
You can also drag and drop different Workflows into another folder.
- Select the Workflows you wish to move, and hover over the name of the other folder you wish to move them to.
- Drag and drop the selected Workflows into the selected folder.
To delete Workflows in bulk:
- On the Workflow list, select the desired Workflows, click Delete and then click OK.
IMPORTANT: You cannot delete a folder that has Workflows in it.

