NOTE: The workflow actions available to you depend on the Workflow model you select, the MDM system you use, and the OS of your devices.
Apple’s Device Enrollment Program, or DEP, is a significant addition to the complex world of enterprise mobile management. DEP allows Apple to inject extra commands into an organizationally-owned iPhone, iPad or iPod during the device’s activation process. Although DEP aims to streamline the device setup process, it is not quite zero-touch, since devices must be put onto Wi-Fi and often MDM will require login credentials. Mobile Access Management can make DEP truly zero-touch, automatically managing Wi-Fi network, iOS updates, MDM credentials, restores from backup, and more. This is especially useful for shared DEP devices, for example in retail or hospitals.
Set Up Your Organization for DEP
Unfortunately, DEP is quite complex to set up. First, an organization must apply to enroll into DEP at deploy.apple.com. After Apple approves an organization’s application, there are additional required steps:
- The organization must register one or more Apple resellers to the DEP portal.
- The organization must register one or more MDM servers with Apple.
- When devices are purchased, the reseller must send Apple a list of device serial numbers to associate them with an organization.
- Then the organization must assign these new devices to MDM servers (a default assignment may be set).
- The organization must create enrollment profiles inside their MDM and assign each DEP device to an MDM profile, then publish those assignments to DEP.
- The organization must put each device through its activation process.
NOTE: Steps 1–4 are beyond the scope of this document. If you need help with these, see your Apple reseller, your Apple representative, or your MDM representative for help.
Create DEP Enrollment Profiles in your MDM
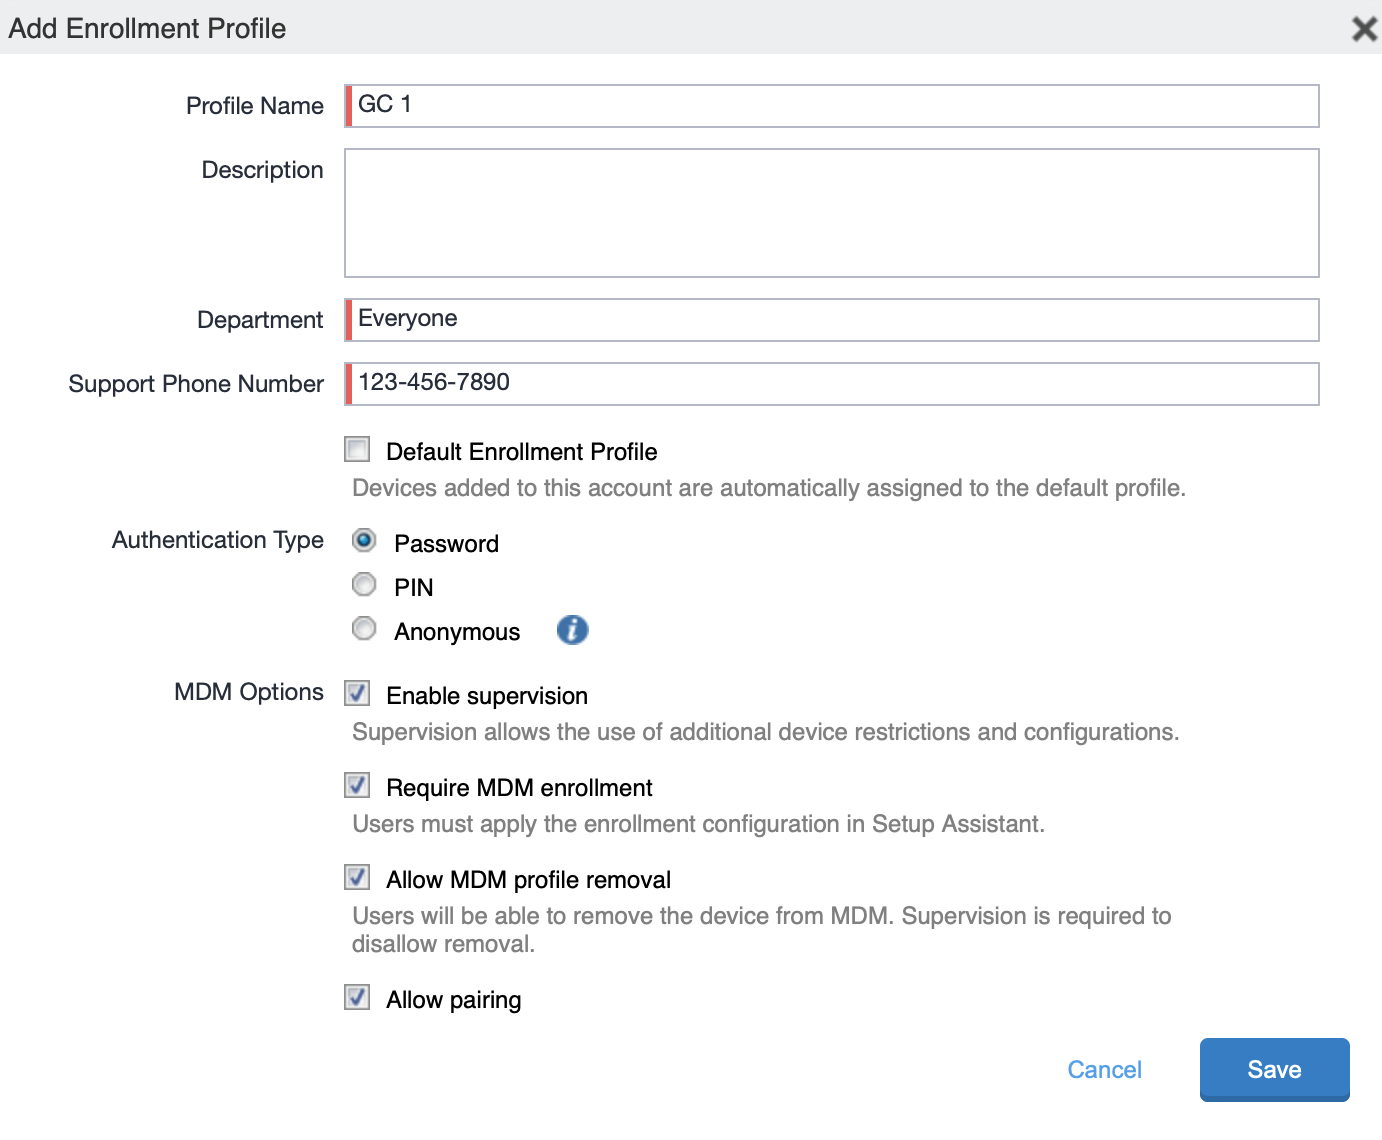
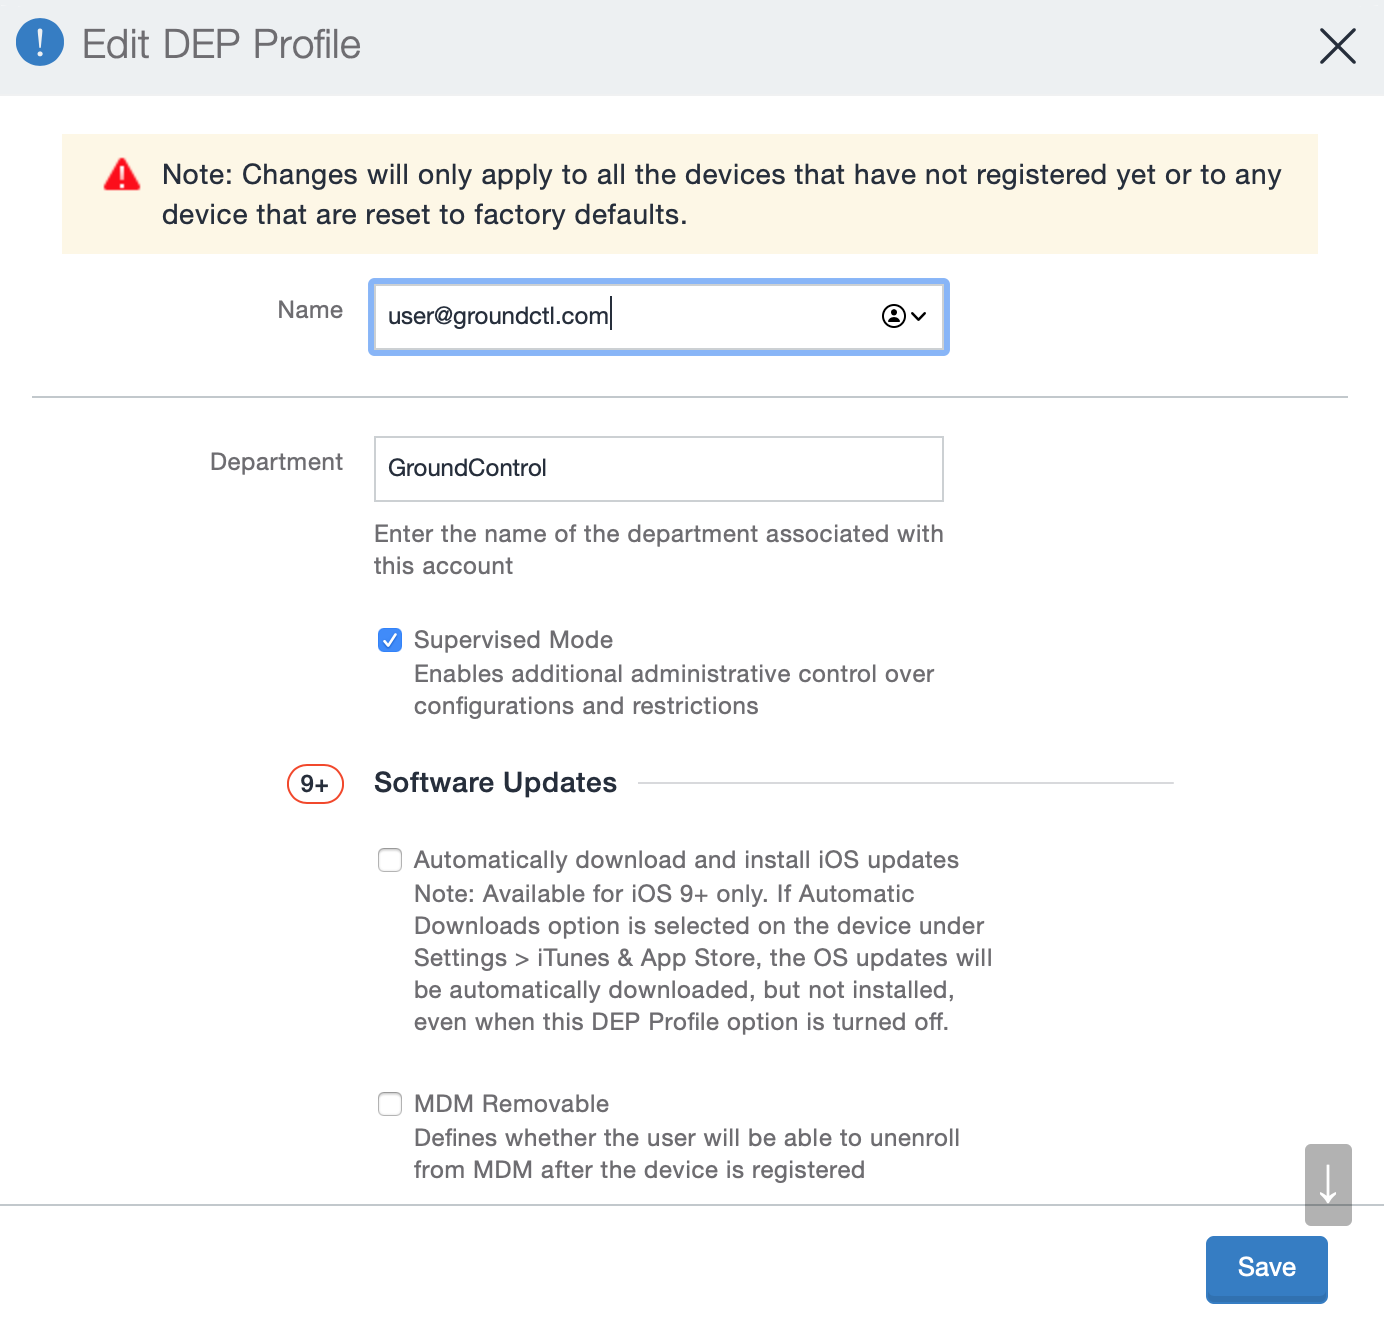
After you have used the DEP portal to assign devices to an MDM server, you must assign an MDM enrollment profile to the device. Confusingly, this is done within the MDM, not within DEP as you may expect. You may create one or (in some MDM systems) more profiles. The profile determines the following behaviors:
- Is MDM required or can it be skipped?
- Is the MDM profile removable or locked?
- Is Supervision on or off?
- Require authentication to MDM or always register as a specified user?
- What setup screens should be skipped?
- What MDM group and/or labels should be applied?
- Allow pairing with new hosts?
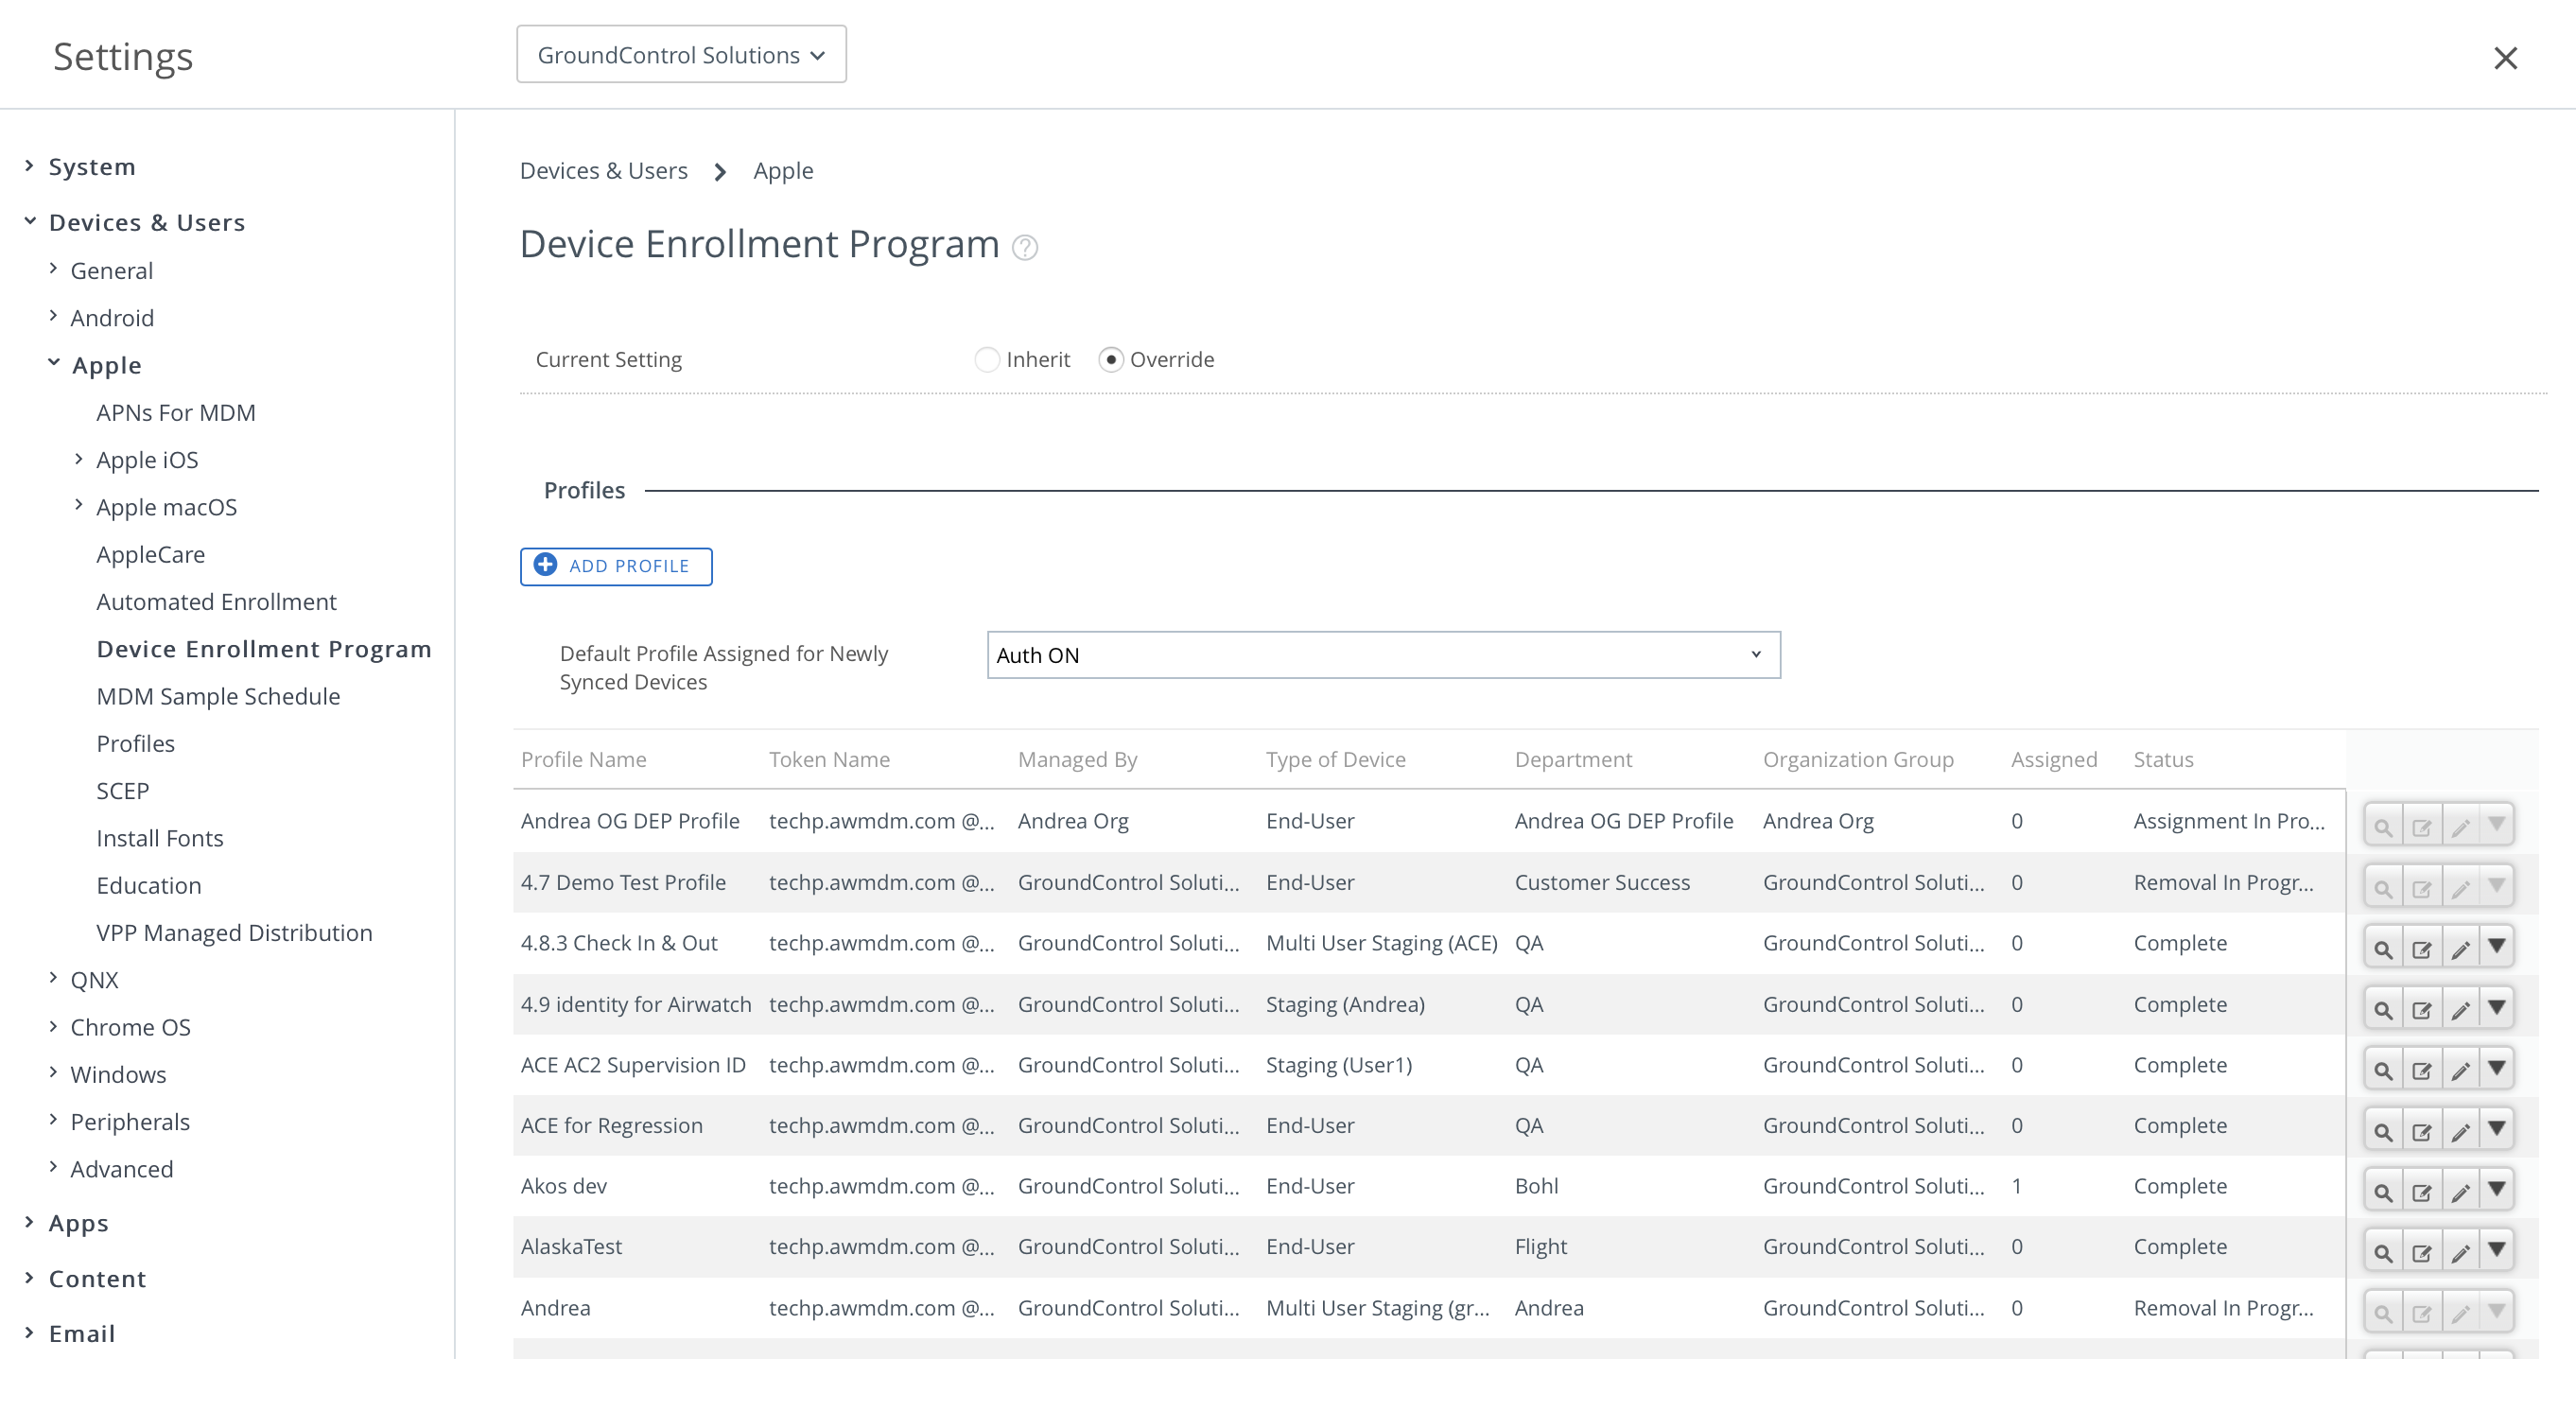
The location of these enrollment profiles varies by MDM.
Activation Changes with a “Manage with DEP” Workflow
When you switch a Workflow from “Manage with GroundControl” to “Manage with DEP”, several things change, because Mobile Access Management no longer manages device supervision.
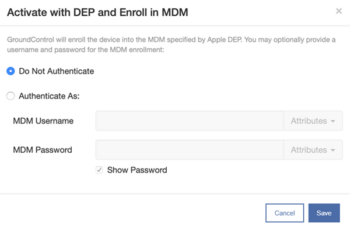
First, the default action switches from Supervise to Activate with DEP and enroll in MDM. This action has several options: 
You can specify that Mobile Access Management should provide authentication to your MDM or to skip authentication.
NOTE: This setting must match the authentication setting in the enrollment profile you assigned to the device in MDM. If you choose to Authenticate, provide the username and password for the MDM enrollment user. You may also pull this information from any attributes you have defined. This way every device may be assigned to a different user.
Restore from Backup Changes with a “Manage with DEP” Workflow
Restore from Backup is available as an action with DEP Workflows. However, by default, only app settings will be restored. Device settings — such as local restrictions, Bluetooth state, etc. — are not restored. Restore from Backup can perform a full device restore on DEP devices, when you follow specific instructions.
Doing More with DEP Devices
By uploading MAM’s supervision identity to your MDM, you can unlock additional features to manage your DEP devices:
- DEP devices can pair with MAM, even if pairing is otherwise restricted
- Set Wallpaper
- Launch App
- Hide Apps
For more information, see this article.


